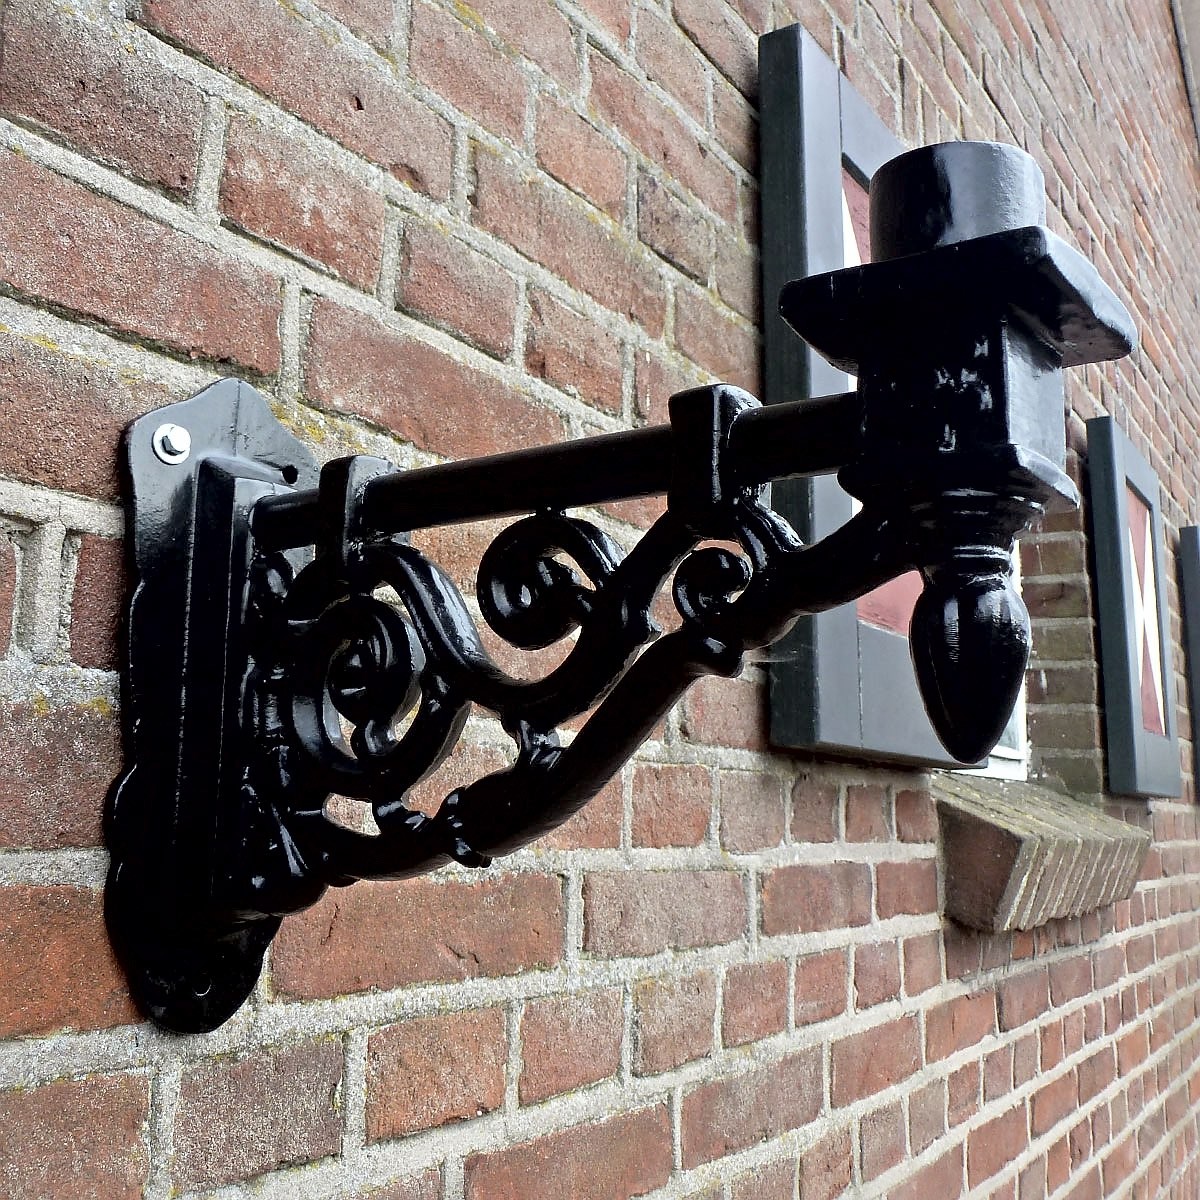
E231. Straight bracket large. Height: 21 cm
Total weight: 5.5 kg
Completely made out of cast iron and comes with 10 years warranty. Choose between black, dark green or dark blue paint (color examples). Every order is freshly painted before shipping.
Availability: In stock
| CE marking | Yes |
|---|---|
| Coating | Double layered active corrosion protection. High UV and weathering resistance paint (primer and finishing paint). |
| Guarantee policy | 10 year guarantee on the structural integrity of the product. No guarantee on the paint job. |
| IP code | IP 44 |
| Base material | Made entirely from 100% pure cast iron. |
| Total height | 21 cm |
| Total weight | 5.5 kg |
Installation video and tips
Concrete casting The concrete casting block should be a minimum of 40 x 40 x 40 cm for lanterns taller than 2 metres. And depending on the ground type, you could make this bigger (if the ground is known to be soft). We do not provide a standard base template because the anchor holes in the bases of our lamps are not exactly at the same position in handcrafted products. The best way to do this is to cast the concrete block without any anchor bolts. Once the concrete is hardened, put our lamps on the concrete, mark and drill the holes and fasten the base with 3 anchor bolts. Most anchor holes are 12 mm, so you can use 10 mm anchor bolts. The minimum length of the anchor bolts should be at least 12 cm. We do not provide anchor bolts with our lamps.
Wiring the lamp posts Electric cables are not included. We advise to wire the fitting with 3 x 1,5 mm2 cable (P1-N-Pe).
Building up the cast iron lantern head Below are two manuals with instructions on how to assemble and disassemble our cast iron lantern heads:4-sided Victorian lantern head manual 6-sided Hexagonal lantern head manual
How to reflect light downwards? Some customers wish to reflect light downwards. Our lantern heads are highly customisable and you can easily install a reflector plate in the inside of our lantern roof or you could paint this with reflective paint to get the same effect.
Glass inserts installation
Insert the glass panels after you assembled the lantern head completely. See this video to view how the glass is inserted: video linkAvoiding the occasional rattling of the glass Place one drop of silicon gel at the upper side of the glass against the lantern roof to avoid rattling. You should not seal the glass of completely because this will cause humidity problems. One drop of silicone gel or a little piece of glass cover is enough to avoid rattling. Our lantern heads are tight fitted, so most of the times, you can just leave it as is. But since the lanterns are hand casted, sometimes there is more room for the glass to rattle.
Rainwater causing problems Use the rubber grommets that we supply with our lantern heads to seal off the screw rod that hangs in the inside of the lantern head roof. Because heavy rainwater sometimes finds its way through the small handcasted parts, drips into this screw rod and falls on the lamp. You could also use silicone gel to seal this off.
How to get the cable through the arms of wall brackets? Use a vacuum cleaner and suck a thin rope (kite rope) through the holes of the wall bracket. A fiddle wire most often doesn't work as our products are hand casted and the inside surface of the tunnel isn’t smooth.
Fitting We supply a standard white E27 ceramic screw fitting. You can place up to 150 watts in it. You could also replace our E27 screw fitting with a local bayonet. You can easily install any type of fitting in our lamps.
Junction box
Our lamp post bases are hollow and you can install a junction box inside the base.Tightening torque for the anchor bolts
| DIN 913 | Tightening Torque in Nm | |
| 8.8 | Inbus | |
| M8 x 40 | 24 | |
| M8 x 10 | 20 | |
| M10 x 20 | 42 | |
| M12 x 16 | 52 | |


